
Know The Goal
Prevent Transfer Before It Builds
Prevention starts before the shirt is worn. A fresh wet patch appears when moisture reaches the fibers; older discoloration can involve repeated moisture, body oils, underarm-product residue, washing, heat, and time. This guide focuses on reducing transfer to shirts, not removing an existing stain.
For existing marks and broader clothing-care guidance, see our guide to stopping sweat stains on clothes.
Before Dressing
Start With The Way You Apply Deodorant Or Antiperspirant
Deodorant and antiperspirant solve different problems. Deodorant is intended to manage odor, while antiperspirant uses active ingredients to reduce perspiration. A product may do both, so read the label instead of assuming every underarm formula works the same way.
Transfer is more likely when wet product meets fabric. Use the label-directed amount and let the underarm area dry before the shirt touches it.
Amount
Use the directed amount
Apply a reasonable, even layer according to the product label instead of building up unnecessary excess.
Preparation
Start with clean, dry skin
Apply deodorant or antiperspirant to clean, fully dry skin when that matches the product directions.
Drying
Allow drying time
Wait until the underarm product is dry before dressing to reduce direct transfer onto the shirt.
Directions
Follow formula-specific directions
Some antiperspirants are directed for nighttime use. Follow the label or guidance from your dermatologist rather than applying every formula the same way.
Some antiperspirants are designed for nighttime application, when the skin is dry and the product has time to settle before morning. Use that approach only when it matches the product directions or advice from your dermatologist. Removing an aluminum-based antiperspirant active changes the formula, but other ingredients and body residue can still reach fabric. An aluminum-free label is not a stain-free guarantee, and deodorant without an antiperspirant active is not designed to reduce perspiration.
Fabric Guide
Choose Shirts That Manage Moisture More Predictably
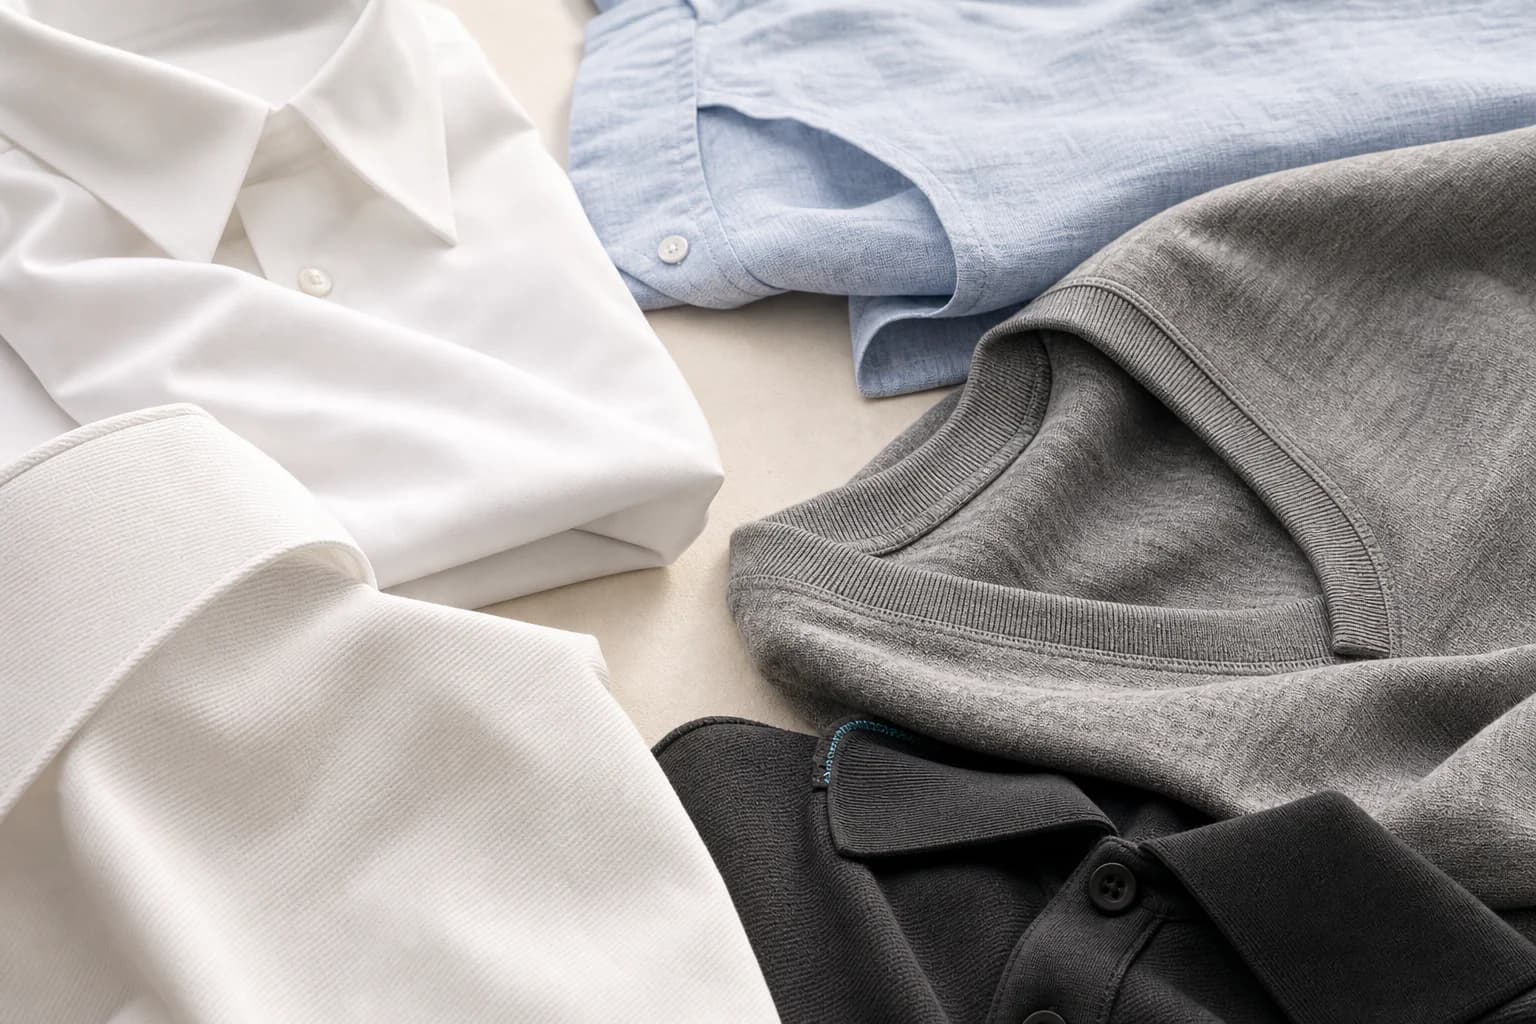
Fiber name alone does not determine how a shirt will behave. Fabric weight, weave or knit, finishing, fit, color, and care can matter as much as whether the label says cotton or polyester. Use the comparison below as a practical starting point rather than a ranking of universal winners.
Read the whole fabric
Fiber, construction, color, and care work together.
Cotton
Often comfortable and absorbent; wetness visibility and residue retention still depend on weight, color, construction, and care.
Useful context: Everyday shirts where softness and airflow matter.
Care note: Treat the underarm area early and follow the garment label.
Linen
Open construction can support airflow, although moisture may still become visible and wrinkles are normal.
Useful context: Warm-weather shirts with a relaxed structure.
Care note: Use the label's wash and ironing guidance; linen does not guarantee invisible moisture.
Lightweight wool or merino
Some lightweight wool constructions manage moisture vapor and odor well, but performance depends on fabric weight, knit, finish, and use.
Useful context: Travel, workwear, and garments designed for repeat wear.
Care note: Use wool-specific or garment-specific care and avoid unnecessary heat.
Polyester and synthetic blends
May dry quickly, while some constructions retain oily residue or odor more readily than cotton.
Useful context: Performance shirts and easy-care blends selected for a specific activity.
Care note: Evaluate the actual fabric finish and wash promptly rather than treating every synthetic as identical.
Performance fabrics
Wicking, drying speed, odor retention, and visibility vary widely by knit, finish, color, and fit.
Useful context: Active or warm conditions when the fabric is designed for moisture transport.
Care note: Follow product-specific care and test how the shirt behaves during real wear.
Dress-shirt blends
Blend wrinkle resistance, appearance, airflow, and care needs; medium weights may conceal barriers better than very thin fabric.
Useful context: Office, uniform, presentation, and event clothing.
Care note: Balance a clean drape with enough underarm room and test any inserted barrier first.
Appearance And Contact
Check Fit, Color, Seams And Underarm Construction
Fit affects how often fabric touches the underarm; color and pattern affect what the eye notices. Seams, armhole depth, lining, stretch panels, and reinforcement also affect where a clothing barrier can sit and whether it stays flat during movement.
Fit
Leave practical underarm room
A shirt does not need to be oversized, but fabric that is pulled tightly into the underarm stays in closer contact with moisture and product residue.
Airflow
Give airflow a chance
A little room around the armhole can improve comfort and reduce constant fabric-to-skin friction during movement.
Color
Choose color for the situation
White can reveal yellow buildup, light gray can show fresh wetness, and prints or medium tones may make temporary marks less obvious.
Prevention
Separate concealment from prevention
A color that hides a mark does not stop moisture or residue from entering the fabric, so garment care still matters.
Inspect the underarm construction
Check whether a thick seam, lining edge, stretch panel, or narrow armhole changes the moisture area or interrupts a flat adhesive surface.
Test the complete outfit
Wear the exact shirt, barrier, jacket, or overshirt. Raise and lower both arms, sit, reach, and use a mirror to check placement and visibility.
Optional Protection
Use A Clothing Barrier When The Shirt Matters
A clothing barrier does not need to be part of every outfit. It becomes useful when a dress shirt, uniform, work shirt, or event garment needs extra protection and changing clothes is inconvenient. The best format depends on coverage, warmth, setup, care, and how visible an added layer may be.
Choose for the day ahead
The right barrier balances coverage, warmth, visibility, and care.
Lightweight undershirt
Best useDaily office shirts and casual layers
AdvantageCreates a washable layer between skin and the outer shirt.
TradeoffAdds warmth and may show at the collar or sleeves.
Absorbent undershirt
Best useLong shifts, uniforms, and repeat wear
AdvantageOffers broader torso coverage and can protect more than the underarm area.
TradeoffUsually heavier, warmer, and more visible under close-fitting shirts.
Clothing-adhesive underarm pad
Best useDress shirts, uniforms, travel, and events
AdvantagePlaces disposable absorption directly inside the garment's underarm area.
TradeoffHold and visibility vary by fabric, fit, movement, placement, and moisture.
Reusable garment shield
Best useRoutines where washing and setup are practical
AdvantageReusable construction can reduce reliance on disposable barriers.
TradeoffMay require straps, sewing, or more setup and garment-specific care.
SWEARX is one example of a disposable clothing-adhesive option. SWEARX underarm sweat pads attach to the inside of clothing and help absorb moisture before it reaches the outer fabric. Performance depends on fabric, garment fit, placement, movement, and the amount of moisture. Replace pads as needed, and test placement before an important event because very thin, tight, light-colored, or delicate garments may show an outline or provide a less predictable adhesive surface.
Use the garment and fabric visibility guide for a focused check of outlines, edges, sleeve openings, and movement in the complete shirt outfit.
For a long commute, shift, trip, or event, carry clean spare pads in their individual wrapping when practical. Check the shirt during a private break and replace a pad when it becomes saturated, loose, folded, uncomfortable, or off-center. Do not rely on a fixed wear time; the useful interval varies with heat, activity, garment, placement, and moisture level.
Review the SWEARX Product Details for the product format, then use the guide to applying underarm sweat pads inside clothing. To decide whether a removable pad is a realistic match for the shirt, review what underarm sweat pads can and cannot do. If you are still comparing formats and coverage, read what to look for in underarm sweat pads, or visit the concise Sweat Pad Guide. For a format-level decision, compare removable sweat pads and protective undershirts.
After Wear
Inspect The Shirt After Wear
Check the underarm area when taking the shirt off. Air a damp shirt rather than leaving it compressed, then follow its care label. If a visible mark or discoloration is already present, switch from prevention to fabric-appropriate garment care rather than repeating another prevention step.
Five-Step Routine
A Practical Shirt-Protection Routine
Use this sequence on days when visible marks or long-term buildup would be especially inconvenient. Adapt the barrier and garment-care steps to the actual shirt rather than treating every fabric the same way.
- 01
Start clean and dry
Start with clean, fully dry skin and a clean shirt.
- 02
Follow product directions
Apply deodorant or antiperspirant according to its directions.
- 03
Allow drying time
Let the product dry before dressing.
- 04
Choose a barrier when useful
Add an undershirt or clothing barrier when the garment or occasion calls for it.
- 05
Check during long wear
Recheck placement and replace a saturated, loose, folded, or uncomfortable pad as needed.
Before You Leave
Quick Prevention Checklist
- The shirt's underarm area is clean and dry.
- Deodorant or antiperspirant has dried before dressing.
- The armhole has enough room for normal movement.
- Underarm seams do not push the barrier away from the moisture area.
- The fabric weight and color suit the day ahead.
- The complete outfit has been tested with normal arm movement.
- A clothing-adhesive pad lies flat with no lifted edges.
- A spare pad or shirt is packed for an unusually long day.
Buyer questions
Frequently Asked Questions
Yellow underarm stains can develop from repeated contact among sweat components, body oils, skin residue, and deodorant or antiperspirant buildup. Aluminum-containing antiperspirants are often associated with this residue, but they are not necessarily the only factor in every stain.
Final Takeaway
Build A Layered Shirt-Protection Routine
No shirt, fabric, or product prevents every mark. A more useful question is where transfer can be reduced for this garment and this day. Choose the few layers that fit the situation, observe how the shirt behaves, and adjust the next wear from that real result.